How to Turn On Features in .NET and C# Without Redeploying: Exploring Feature Flags and A/B Testing
Introduction
Deploying new features in an application can be risky. A small mistake could lead to bugs, disrupt users, or even cause downtime. In today’s fast-paced development environment, developers need a way to enable or disable features without redeploying the entire application.
This is where feature flags come in. Feature flags give developers control over which features are active, even after the application is running. They make it possible to release features safely, test different versions of features (A/B testing), and roll out changes step by step. This approach works well with modern development practices like trunk-based development and helps teams deliver updates quickly and reliably.
In this article, we’ll explain what feature flags are, how they work with trunk-based development, and how you can use them in .NET and C#. We’ll also provide a simple example to help you get started.
Let’s jump in!
What Are Feature Flags?
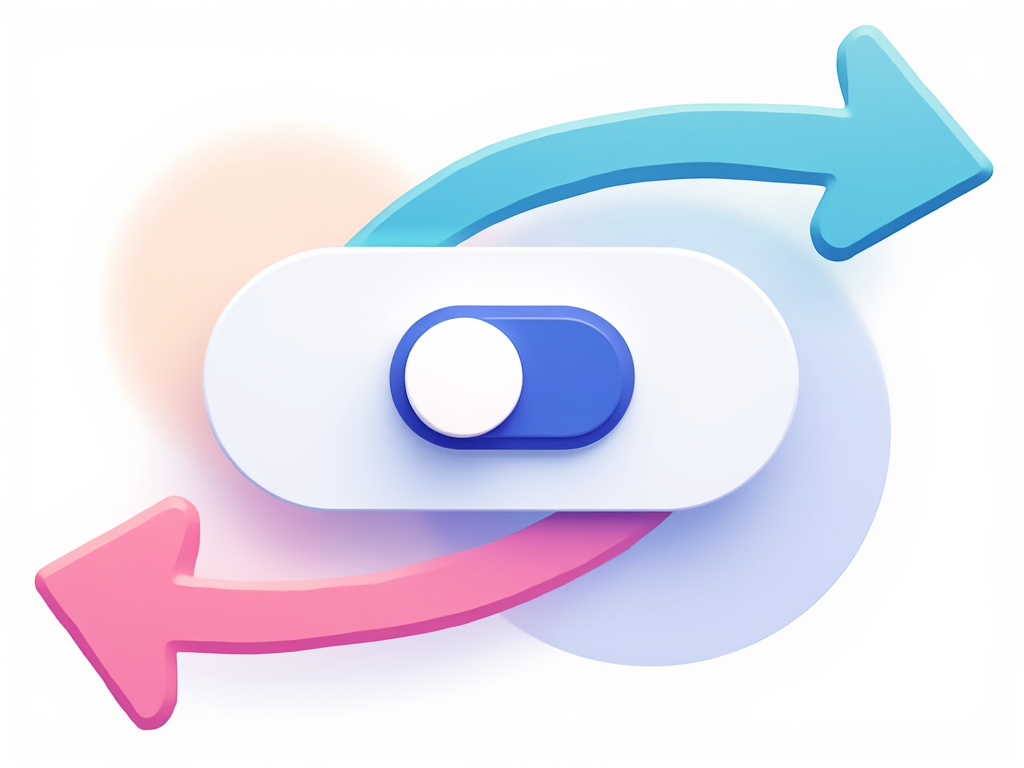
Feature flags, also known as feature toggles, are a simple yet powerful tool that allows developers to control the availability of features in an application at runtime. Instead of hardcoding whether a feature is active, you use a flag (a conditional switch) to turn the feature on or off. This means you don’t need to redeploy the application to enable or disable a feature.
Benefits of Feature Flags
Feature flags offer several advantages that make them valuable for modern software development:
- Dynamic Feature Control
You can control which features are active without touching the deployed code. This makes it easier to respond quickly to user feedback or unexpected issues. - Safer Rollouts
Feature flags allow for gradual rollouts. For example, you can enable a feature for 10% of users and monitor its performance before rolling it out to everyone. - Experimentation (A/B Testing)
With feature flags, you can test different versions of a feature to see which performs better. This helps in making data-driven decisions. - Reduced Downtime
If a feature causes problems, you can simply turn it off instead of rolling back the entire application. This keeps downtime to a minimum.
Common Use Cases for Feature Flags
- Beta Testing: Release a new feature to a small group of users to gather feedback before a full rollout.
- Feature Toggling: Turn features on or off based on user roles, regions, or other conditions.
- Experiments: Run A/B tests to compare different implementations and measure their impact.
- Emergency Switch: Quickly disable a problematic feature without redeploying the app.
Feature flags are especially helpful in agile and DevOps workflows, where teams need to move quickly and release updates frequently. By adding flexibility and control to your application, feature flags make your deployments safer and more efficient.
Feature Flags and Trunk-Based Development
What Is Trunk-Based Development?
Trunk-based development is a software development practice where all developers work on a single branch of the codebase, called the “trunk.” Instead of creating long-lived feature branches, developers commit small, frequent changes directly to the trunk. This approach encourages collaboration, reduces merge conflicts, and supports Continuous Integration/Continuous Deployment (CI/CD).
However, working on a single branch can pose challenges when it comes to unfinished features. How do you keep the trunk stable while still allowing work-in-progress features? This is where feature flags come into play.
How Feature Flags Fit In
Feature flags make trunk-based development safer and more practical by letting developers isolate incomplete or experimental features. Here’s how they work together:
- Frequent Commits Without Risk
With feature flags, developers can commit unfinished features to the trunk without impacting the rest of the application. These features remain hidden from users until the flag is turned on. - Enabling Continuous Integration
Since all changes are integrated into the trunk frequently, CI systems can test the full application, including code behind feature flags. This helps catch issues early. - Simplifying Continuous Deployment
Feature flags allow you to deploy code to production even if a feature isn’t ready for release. You can activate the feature later, when it’s fully tested, without needing another deployment.
An Example Workflow
Imagine you’re adding a new dashboard feature to a web app:
- You wrap the dashboard code with a feature flag:
if (FeatureManager.IsEnabled("NewDashboard"))
{
    RenderNewDashboard();
}
else
{
    RenderOldDashboard();
} - Commit your code to the trunk. The application is deployed to production, but the new dashboard is disabled by default.
- Once the feature is complete, you enable the flag for internal users or a small group of beta testers.
- After testing, you roll out the feature to all users by toggling the flag, without deploying new code.
Feature flags and trunk-based development work hand-in-hand to support fast, stable, and flexible development workflows. This combination is a key enabler of modern practices like agile development and DevOps.
Implementing Feature Flags in .NET and C#: A Practical Example
In this section, we’ll create a simple weather API using .NET’s minimal API template and implement feature flags using the Microsoft.FeatureManagement library. Feature flags will control new features, like switching between a detailed weather report and a basic one.
Disclaimer: This example is intended for educational purposes only. While it demonstrates key concepts, there are more efficient ways to write and optimize this code in real-world applications. Consider this a starting point for learning, and always aim to follow best practices and refine your implementation.
Prerequisites
Before starting, make sure you have the following installed:
- C# Extension for VSCode: Install the C# extension for VSCode to enable C# support.
- .NET SDK: Download and install the .NET SDK if you haven’t already.
- Visual Studio Code (VSCode): Install Visual Studio Code for a lightweight code editor.
Step 1: Setting Up the Project
Create a new minimal API project:
dotnet new webapi -n WeatherApiWithFeatureFlags
cd WeatherApiWithFeatureFlags
Add the Microsoft.FeatureManagement NuGet package:
dotnet add package Microsoft.FeatureManagement 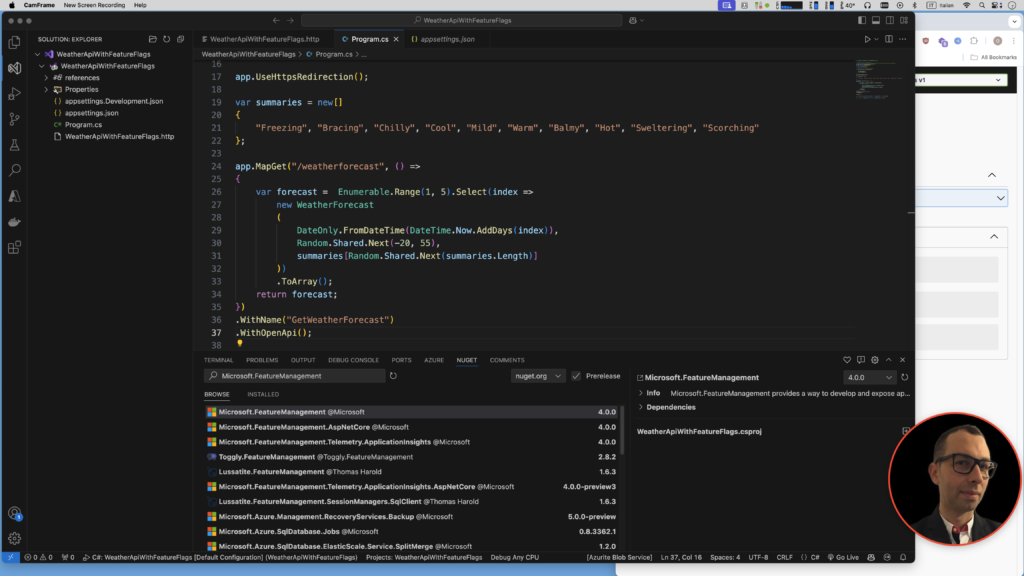
Step 2: Configuring Feature Flags
Open the appsettings.json file and define feature flags:
{
    "FeatureManagement": {
        "DetailedWeatherForecast": false
    }
}
Add the feature management services to Program.cs:
using Microsoft.FeatureManagement;

var builder = WebApplication.CreateBuilder(args);

builder.Services.AddFeatureManagement();
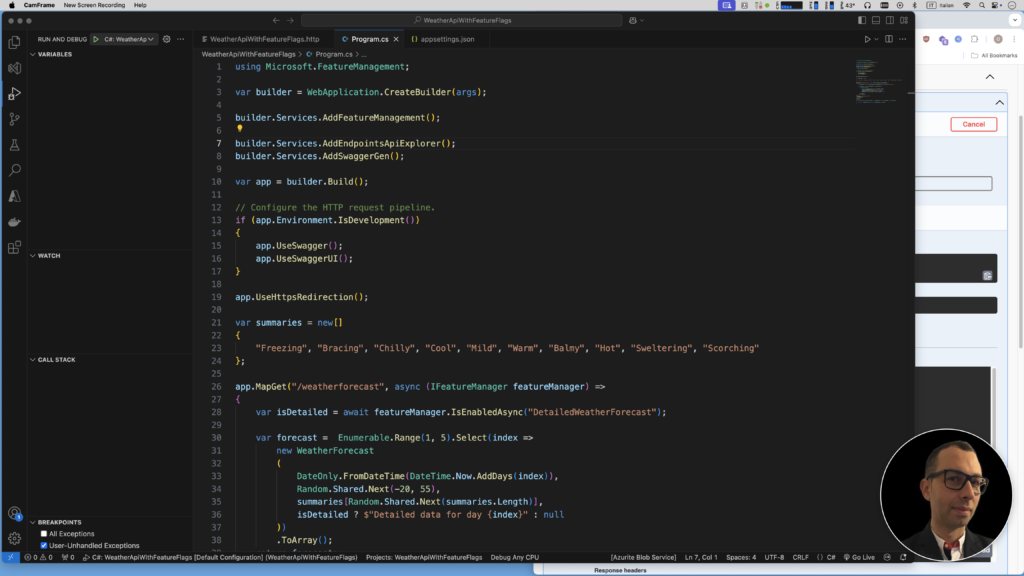
Update the Program.cs to manage the Feature Flags.
Step 3: Creating the Minimal API
using Microsoft.FeatureManagement;

var builder = WebApplication.CreateBuilder(args);

builder.Services.AddFeatureManagement();

builder.Services.AddEndpointsApiExplorer();
builder.Services.AddSwaggerGen();

var app = builder.Build();

// Configure the HTTP request pipeline.
if (app.Environment.IsDevelopment())
{
    app.UseSwagger();
    app.UseSwaggerUI();
}

app.UseHttpsRedirection();

var summaries = new[]
{
    "Freezing", "Bracing", "Chilly", "Cool", "Mild", "Warm", "Balmy", "Hot", "Sweltering", "Scorching"
};

app.MapGet("/weatherforecast", async (IFeatureManager featureManager) =>
{
    var isDetailed = await featureManager.IsEnabledAsync("DetailedWeatherForecast");

    var forecast =  Enumerable.Range(1, 5).Select(index =>
        new WeatherForecast
        (
            DateOnly.FromDateTime(DateTime.Now.AddDays(index)),
            Random.Shared.Next(-20, 55),
            summaries[Random.Shared.Next(summaries.Length)],
            isDetailed ? $"Detailed data for day {index}" : null
        ))
        .ToArray();
    return forecast;
})
.WithName("GetWeatherForecast")
.WithOpenApi();

app.Run();

record WeatherForecast(DateOnly Date, int TemperatureC, string? Summary, string? Details)
{
    public int TemperatureF => 32 + (int)(TemperatureC / 0.5556);
}
Run the application:
dotnet run 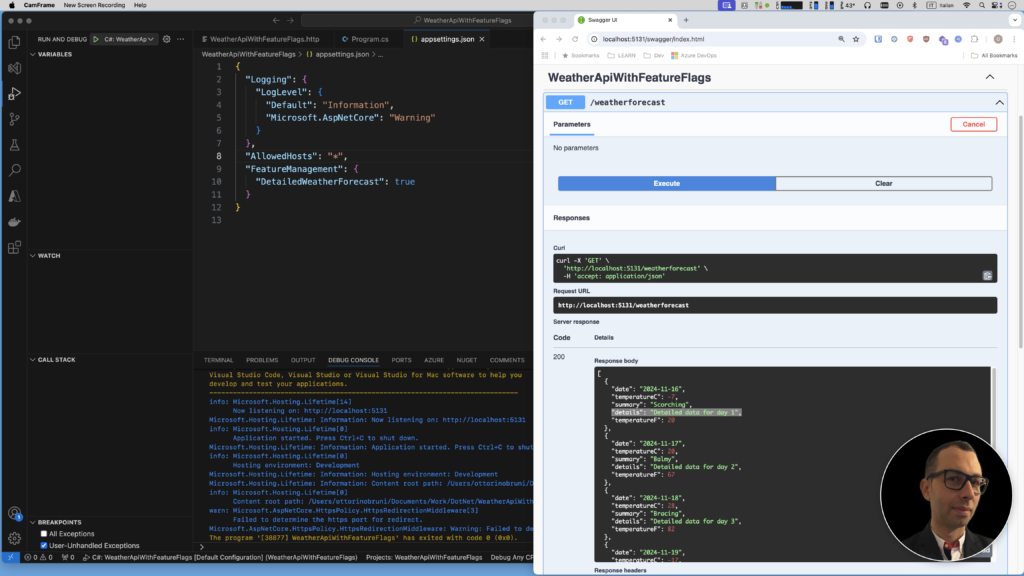
Step 4: Enabling the Feature Flag
To enable the detailed weather report, update appsettings.json to set DetailedWeather to true:
"FeatureManagement": {
    "DetailedWeather": true
}
Run again the api, and now the /weather endpoint will return the detailed response.
Optional: Adding A/B Testing
You can extend this example to include A/B testing by enabling the flag for only a subset of users. For example, use query parameters to simulate a user group:
app.MapGet("/weatherforecast", async (IFeatureManager featureManager) =>
{
    var userGroup = context.Request.Query["group"];
    var isDetailed = userGroup == "beta" && await featureManager.IsEnabledAsync("DetailedWeather");

    var forecast =  Enumerable.Range(1, 5).Select(index =>
        new WeatherForecast
        (
            DateOnly.FromDateTime(DateTime.Now.AddDays(index)),
            Random.Shared.Next(-20, 55),
            summaries[Random.Shared.Next(summaries.Length)],
            isDetailed ? $"Detailed data for day {index}" : null
        ))
        .ToArray();
    return forecast;
})
.WithName("GetWeatherForecast")
.WithOpenApi();
Test it by visiting /weatherforecast?group=beta to see the detailed response for beta users.
Why Use Azure App Configuration for Complex Feature Flag Management?
Managing feature flags in a growing or distributed application can become challenging, especially as the number of flags increases or when fine-grained control is required. Azure App Configuration is an ideal solution for handling complex feature flag scenarios, offering a centralized, robust, and secure way to manage these configurations at scale.
Benefits of Using Azure App Configuration for Feature Flags
- Centralized Management
Azure App Configuration allows you to manage all your application settings and feature flags from a single location. This simplifies the process of updating, enabling, or disabling flags across distributed environments without requiring code changes or redeployments. - Built-In Feature Filters
Azure provides powerful feature filters that let you activate feature flags based on specific conditions, such as:- Enabling a feature only during a set time window.
- Targeting specific user groups or geographies.
- Rolling out features to a percentage of users for gradual deployments.
- Scalability for Distributed Systems
Whether you are running microservices, serverless functions, or containerized applications, Azure App Configuration scales with your application’s needs, supporting settings synchronization across multiple regions.
Conclusion
Feature flags are a powerful tool for modern software development, offering a practical way to enable or disable features dynamically without redeploying applications. In the context of .NET development, they bring numerous benefits, such as safer rollouts, quicker iteration cycles, and greater flexibility for delivering new features.
By combining feature flags with practices like trunk-based development, teams can commit code frequently, keep unfinished features hidden, and reduce the risks of integration. This not only enhances productivity but also aligns with modern DevOps principles like Continuous Integration and Continuous Deployment (CI/CD).
One of the most impactful applications of feature flags is enabling A/B testing, allowing you to gather real-world data on how users interact with new features. This insight can help you make informed decisions about what resonates most with your audience, ensuring that your application evolves to meet user expectations.
If you think your friends or network would find this article useful, please consider sharing it with them. Your support is greatly appreciated.
Thanks for reading!
 Discover CodeSwissKnife, your all-in-one, offline toolkit for developers!
Click to explore CodeSwissKnife
