Advanced JWT Authentication in ASP.NET Core Minimal API. Part 2: Refresh Tokens and Client-Side Integration
Introduction
In my previous articles, we’ve covered quite a journey through JWT authentication in ASP.NET Core Minimal API. Part 1 introduced the basics using the dotnet user-jwts tool, providing a foundation for securing APIs during development. Part 2 took us deeper into manual token generation and validation, showing how to implement production-ready JWT authentication with full control over the process.
However, one crucial aspect of real-world authentication remains unexplored: handling token expiration gracefully. While short-lived access tokens enhance security, they can lead to a poor user experience as users need to repeatedly log in when their tokens expire. This is where refresh tokens come into play.
In this third part of our JWT authentication series, we’ll extend our previous implementation to include a refresh token mechanism. This addition will allow our application to:
- Maintain security with short-lived access tokens
- Provide seamless user experience through automatic token renewal
- Implement proper token management and revocation capabilities
We’ll build upon the code from Part 2, where we implemented manual token generation and validation, and add a complete refresh token workflow. By the end of this article, you’ll have a robust authentication system that balances security with user experience, suitable for production environments.
Let’s dive into implementing refresh tokens and see how they can enhance our existing JWT authentication system.
Understanding Refresh Tokens
What Are Refresh Tokens?
In JWT authentication, we typically deal with two types of tokens:
- Access Tokens: Short-lived tokens used to access protected resources
- Refresh Tokens: Long-lived tokens used to obtain new access tokens
Think of it like a hotel stay:
- The access token is like your room key card that expires daily
- The refresh token is like your hotel booking confirmation that lasts for your entire stay
- When your room key expires, you can show your booking confirmation (refresh token) to get a new key card (access token)
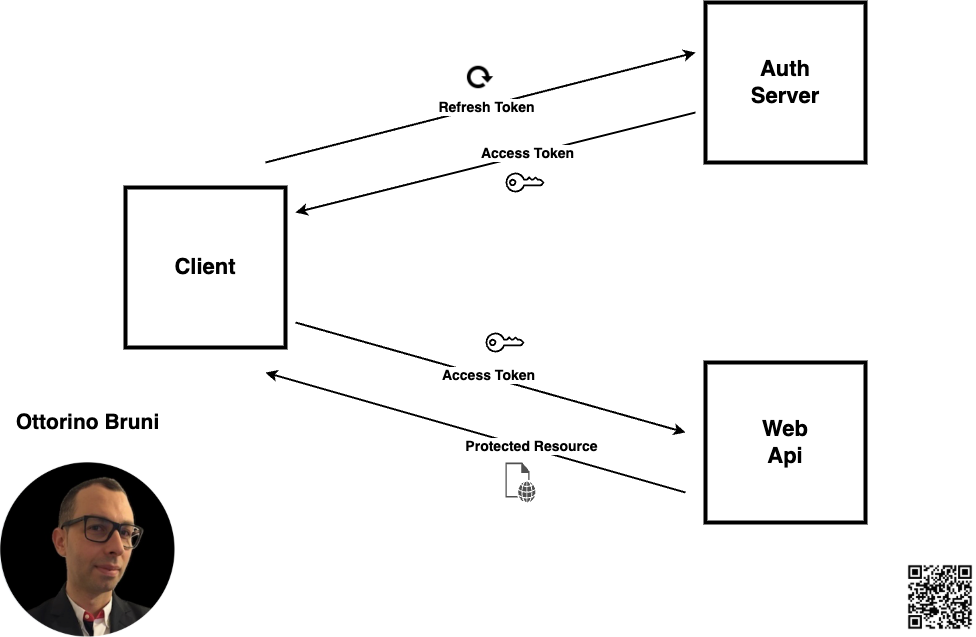
How Refresh Tokens Work
- Initial Login:
- User logs in with credentials
- Server provides both an access token and a refresh token
- Access token is used for API requests
- Refresh token is stored securely
- Token Expiration:
- When the access token expires (typically after 15-60 minutes)
- Instead of requesting the user to log in again
- The client uses the refresh token to request a new access token
- User continues working without interruption
Key Benefits of Refresh Tokens
Refresh tokens offer several significant advantages that make them essential for modern web applications. The primary benefit is enhanced security. By using refresh tokens, we can configure access tokens with very short lifetimes, typically around 15 minutes. This means that even if an access token is compromised, it becomes useless quickly, significantly reducing the window of opportunity for attackers. Refresh tokens themselves are more secure because they’re only transmitted during token renewal and are stored securely on the server, making them much harder to steal.
When it comes to security considerations, proper implementation is crucial. Storage of refresh tokens requires careful attention – they should never be stored in browser localStorage. Instead, use secure HTTP-only cookies for client-side storage and ensure they’re stored securely on the server, typically encrypted in a database. Token rotation is another important security measure, where new refresh tokens are issued with each use and old ones are invalidated, preventing refresh token replay attacks.
Expiration timing is also critical. While access tokens should be short-lived (15-60 minutes), refresh tokens can last for days or weeks, depending on your application’s security requirements. This balance ensures security while maintaining a smooth user experience.
This understanding of refresh tokens sets the foundation for our implementation, which we’ll cover in the next sections. We’ll see how to add refresh token support to our existing ASP.NET Core Minimal API while maintaining security best practices.
Example: Advanced JWT Authentication in ASP.NET Core Minimal API
Disclaimer: This example is intended for educational purposes only. While it demonstrates key concepts, there are more efficient ways to write and optimize this code in real-world applications. Consider this a starting point for learning, and always aim to follow best practices and refine your implementation.
GitHub Repository
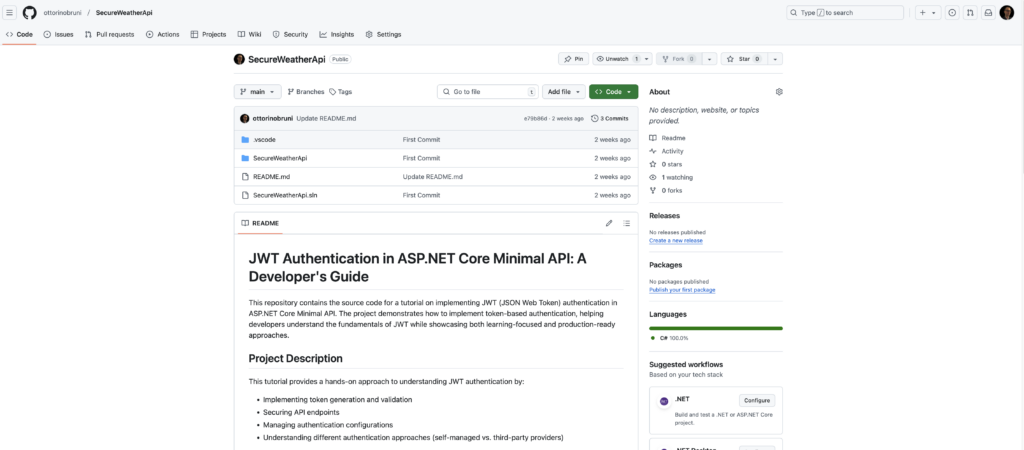
All the code is available in this GitHub repository and use the jwt-generation-refresh branch . This repository will help you easily apply the new modifications to the previously created code thanks to the use of tags and branches.
Prerequisites
Before starting, make sure you have the following installed:
- .NET SDK: Download and install the .NET SDK if you haven’t already.
- Visual Studio Code (VSCode): Install Visual Studio Code for a lightweight code editor.
- C# Extension for VSCode: Install the C# extension for VSCode to enable C# support.
Step 1: Setting Up the Project
Clone the repository:
git clone https://github.com/ottorinobruni/SecureWeatherApi.gitStep 2: Add Data Model
Define the necessary models for your API:
public record UserCredentials(string Username, string Password);
public record RefreshRequest(string RefreshToken);
Step 3: In-Memory Storage (for Demo)
For simplicity, we’ll use an in-memory dictionary to store refresh tokens. In a real-world scenario, this data would be stored in a secure database.
// Key: RefreshToken, Value: Username
var refreshTokens = new Dictionary<string, string>();
Step 4: Extend Login Endpoint
When the user logs in, generate both an access token and a refresh token:
app.MapPost("/login", (UserCredentials credentials) =>
{
    if (credentials.Username == "username" && credentials.Password == "password") // Hardcoded for simplicity
    {
        var accessToken = GenerateAccessToken(credentials.Username, jwtSettings);
        var refreshToken = Guid.NewGuid().ToString(); // Generate a new refresh token
        refreshTokens[refreshToken] = credentials.Username; // Store refresh token with username mapping

        return Results.Ok(new { AccessToken = accessToken, RefreshToken = refreshToken });
    }
    return Results.Unauthorized();
});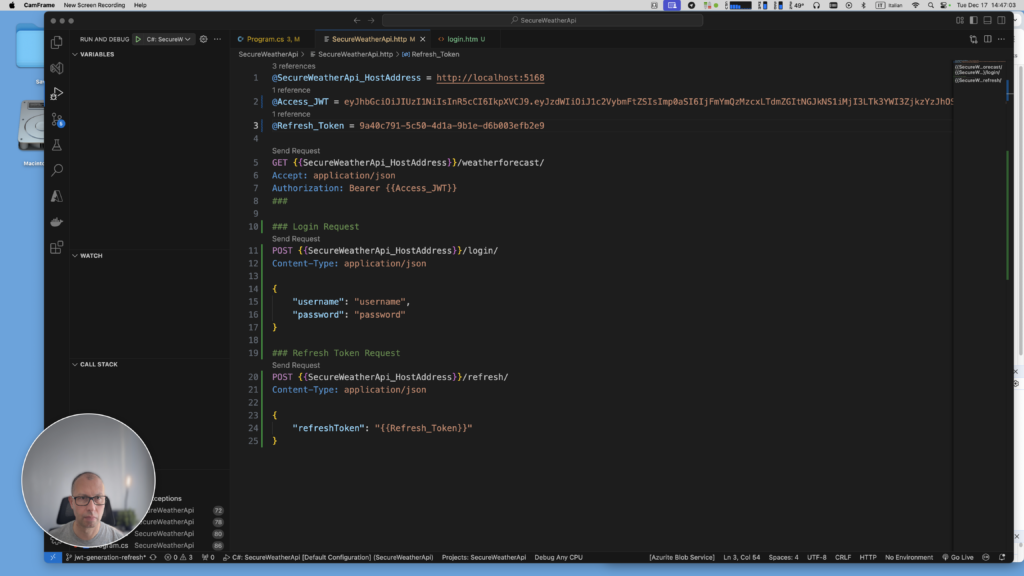
Step 5: Add the Refresh Endpoint
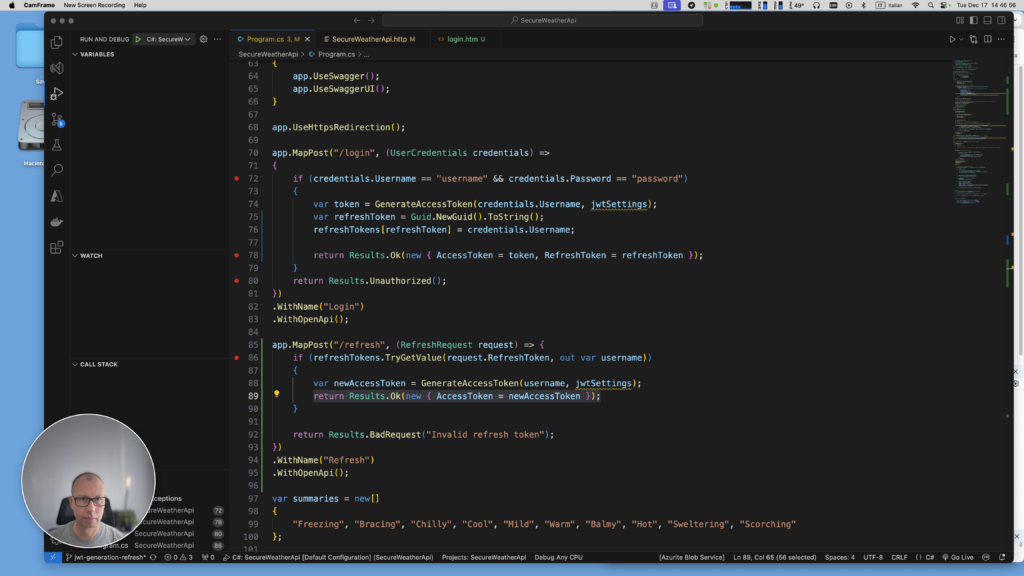
This endpoint accepts a valid refresh token, validates it against the existing tokens, and issues a new access token if valid.
app.MapPost("/refresh", (RefreshRequest request) =>
{
    if (refreshTokens.TryGetValue(request.RefreshToken, out var username))
    {
        var newAccessToken = GenerateAccessToken(username, jwtSettings);
        return Results.Ok(new { AccessToken = newAccessToken });
    }
    return Results.BadRequest("Invalid refresh token");
});
Step 6: Sample Client Implementation
To demonstrate how everything works, let’s create a simple HTML page with basic JavaScript to:
- Allow login with a username and password.
- Use the returned access token to fetch data from the
/weatherforecastendpoint. - Handle token expiration by refreshing the token automatically.
<!DOCTYPE html>
<html lang="en">
<head>
    <meta charset="UTF-8">
    <meta name="viewport" content="width=device-width, initial-scale=1.0">
    <title>JWT Authentication</title>
</head>
<body>
    <h1>Login</h1>
    <form id="login-form">
        <input type="text" id="username" placeholder="Username" required>
        <input type="password" id="password" placeholder="Password" required>
        <button type="submit">Login</button>
    </form>

    <h2>Weather Data</h2>
    <button id="fetch-data" disabled>Fetch Weather Data</button>
    <pre id="weather-data"></pre>

    <script>
        let accessToken = null;
        let refreshToken = null;

        document.getElementById('login-form').addEventListener('submit', async function(event) {
            event.preventDefault();

            const username = document.getElementById('username').value;
            const password = document.getElementById('password').value;

            const response = await fetch('/login', {
                method: 'POST',
                headers: { 'Content-Type': 'application/json' },
                body: JSON.stringify({ username, password })
            });

            if (response.ok) {
                const data = await response.json();
                accessToken = data.accessToken;
                refreshToken = data.refreshToken;
                document.getElementById('fetch-data').disabled = false;
                alert('Login successful!');
            } else {
                alert('Login failed!');
            }
        });

        document.getElementById('fetch-data').addEventListener('click', async function() {

            if (isTokenExpired(accessToken)) {
                await refreshAccessToken();
            }

            const response = await fetch('/weatherforecast', {
                method: 'GET',
                headers: { 'Authorization': `Bearer ${accessToken}` }
            });

            if (response.status === 401) {
                console.error("Token expired!");
                // Token expired, refresh the token
                await refreshAccessToken();
                // Retry the request with the new access token
                await fetchWeatherData();
            } else if (response.ok) {
                console.log("fetch weatherforecast!");
                const data = await response.json();
                document.getElementById('weather-data').innerText = JSON.stringify(data, null, 2);
            } else {
                alert('Failed to fetch weather data');
            }
        });

        async function refreshAccessToken() {
            const response = await fetch('/refresh', {
                method: 'POST',
                headers: { 'Content-Type': 'application/json' },
                body: JSON.stringify({ refreshToken: refreshToken })
            });

            if (response.ok) {
                const data = await response.json();
                accessToken = data.accessToken;
                console.log("Got Access Token!");
            } else {
                alert('Failed to refresh token. Please log in again.');
                accessToken = null;
                refreshToken = null;
                document.getElementById('fetch-data').disabled = true;
            }
        }

        function isTokenExpired(token) {
            if (!token) return true; // If there's no token, consider it expired
            const payload = JSON.parse(atob(token.split('.')[1]));
            const exp = payload.exp * 1000; // Convert exp to milliseconds
            return Date.now() > exp; // Check if current time exceeds expiration time
        }

    </script>
</body>
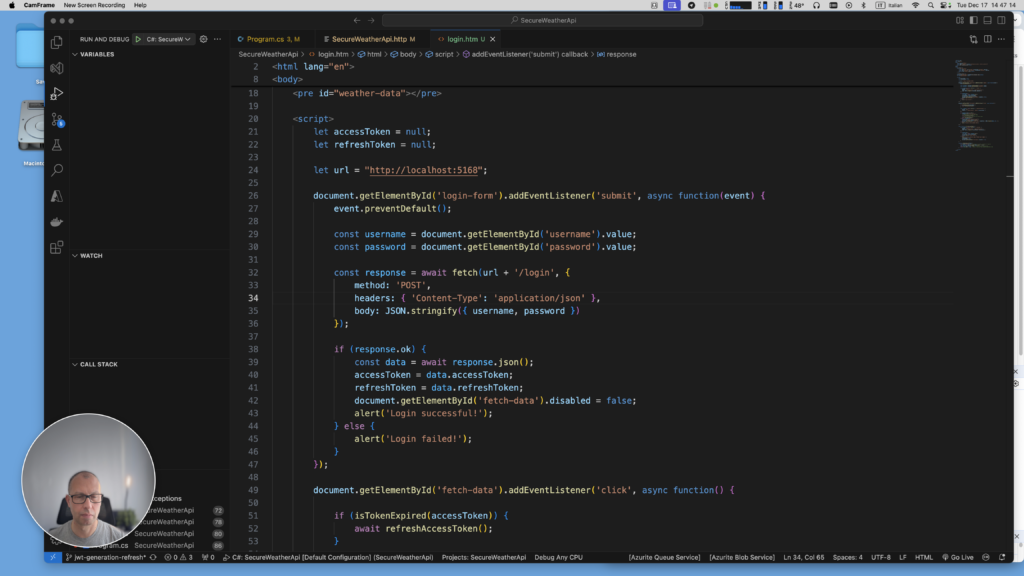
What This Code Does:
- Logs the user in by sending the username and password to the
/loginendpoint. - Stores the
accessTokenandrefreshTokenreturned by the server. - Fetches weather data using the
accessTokenfrom the/weatherforecastendpoint. - If the access token has expired (
401response), the client uses the/refreshendpoint to get a new access token and retries the request.
How to Test the HTML Page with the API
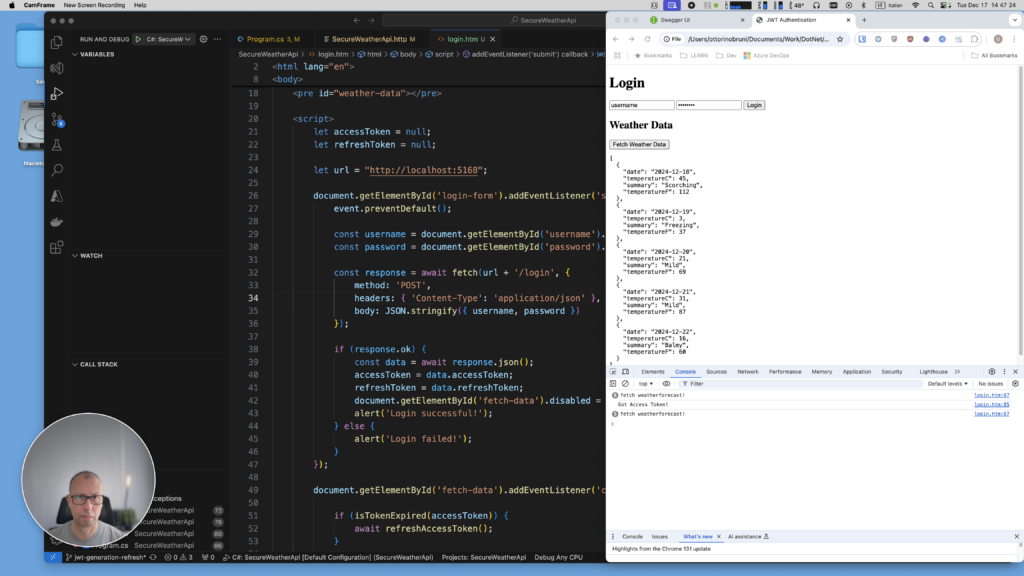
To properly test the HTML login page with your API, follow these steps:
- Create a
wwwrootfolder- In your ASP.NET Core project, create a folder named
wwwrootat the root level - Place your
login.htmlfile inside this folder
- In your ASP.NET Core project, create a folder named
- Configure your
Program.csAdd the following code to enable CORS and static files. - Run your API project
- Access the login page at:
http://localhost:5168/login.html - The page will now be served directly from your API, avoiding CORS issues
- Access the login page at:
var builder = WebApplication.CreateBuilder(args);

// Add CORS configuration
builder.Services.AddCors(options =>
{
    options.AddPolicy("AllowAll", policy =>
    {
        policy.AllowAnyOrigin()
              .AllowAnyMethod()
              .AllowAnyHeader();
    });
});

// Other...

var app = builder.Build();

// Enable serving static files (Important for serving HTML)
app.UseStaticFiles();

// Enable CORS
app.UseCors("AllowAll");
- Run your API project
- Access the login page at:
http://localhost:5168/login.html - The page will now be served directly from your API, avoiding CORS issues
Conclusion
In this article, we have demonstrated how to implement refresh tokens in an ASP.NET Core Minimal API. This approach showcases the importance of refreshing access tokens to maintain a seamless user experience while ensuring robust security measures.
Key Benefits of Using Refresh Tokens:
- Improved Security: By allowing short-lived access tokens, the risk of compromised tokens is minimized.
- Enhanced User Experience: Users can remain authenticated without needing to log in repeatedly, even when access tokens expire.
- Token Revocation Control: Refresh tokens facilitate the ability to revoke sessions server-side, enhancing overall application security.
- Better Management: Refresh tokens provide a structured way to manage authentication within your application, allowing for scalability and adaptability as your user base grows.
Looking ahead, in future chapters, we will explore using established authentication software solutions. These tools will provide advanced security features and simplify the implementation of authentication mechanisms, helping you create more robust applications more efficiently.
Thank you for following along with this journey into JWT authentication and refresh tokens! If you have any questions or need further clarifications, feel free to reach out.
If you think your friends or network would find this article useful, please consider sharing it with them. Your support is greatly appreciated.
Thanks for reading!
 Discover CodeSwissKnife, your all-in-one, offline toolkit for developers!
Click to explore CodeSwissKnife
